Showing posts with label techniques. Show all posts

Thursday, 23 July 2015

Silk Mill dress- catwalk and photoshoot


Below are a few behind-the-scenes photos from a photo shoot of my dress that was made for the Whitchurch Silk Mill exhibition. As well as those from the photo shoot, I've also included pictures of the dress on the catwalk when it featured in the end of year show.

Both at the photo shoot and the show it was great to see the dress being worn and to see that it was a very wearable garment, especially after all the hard work that went into making it. The dress and some of my work as well as some of my fellow student's work is now on display at the Whitchurch Silk Mill as part of an exhibition to celebrate 200 years since it was built.


Live Project - The Making

We worked in groups during the making of our final garments. Below are a series of images that show the progress of the work leading up to my final garment being completed.

The top photo is of my group's samples, with my knit samples being in the centre. The other photos show the making of my embroidered fabric, with the bottom pictures in particular showing the construction of the dress. 

I really enjoyed making such big pieces of freehand embroidered fabric as I have only made small pieces previously. The knitted panels were made quite quickly. In the end I did not use a pattern to make my dress, instead I pinned the pieces of fabric onto the mannequin and sewed it from the measurements taken. It was not as easy as I had thought, sewing the stretchy knit to the silk embroidered panels, however I have learnt a lot from this project especially in terms of making the dress itself. I will definitely be combining embroidery into my future projects. 


Tuesday, 21 July 2015

Julian Roberts Dress for MOTHS

Here are photos of my final dress made for the Modelling on the Stand (MOTHS). To create this dress I used the Julian Roberts pattern cutting technique. I had previously tried this technique twice so I felt quite confident in making my final dress using it. Using the two fabrics for the dress was not an easy task as they were both light weight and difficult to handle. I tried to recreate the toile that I had made for the dress earlier in the project, however it did not work well with the lighter fabric so I changed and adapted my approach. I played around with different pieces, pinning them in different places, until I was happy with the result. 

Overall I am really happy with how this project has gone and how my final dress has turned out. It was good to try new techniques and to work outside of my comfort zone.

Drawing on the bodice pattern.

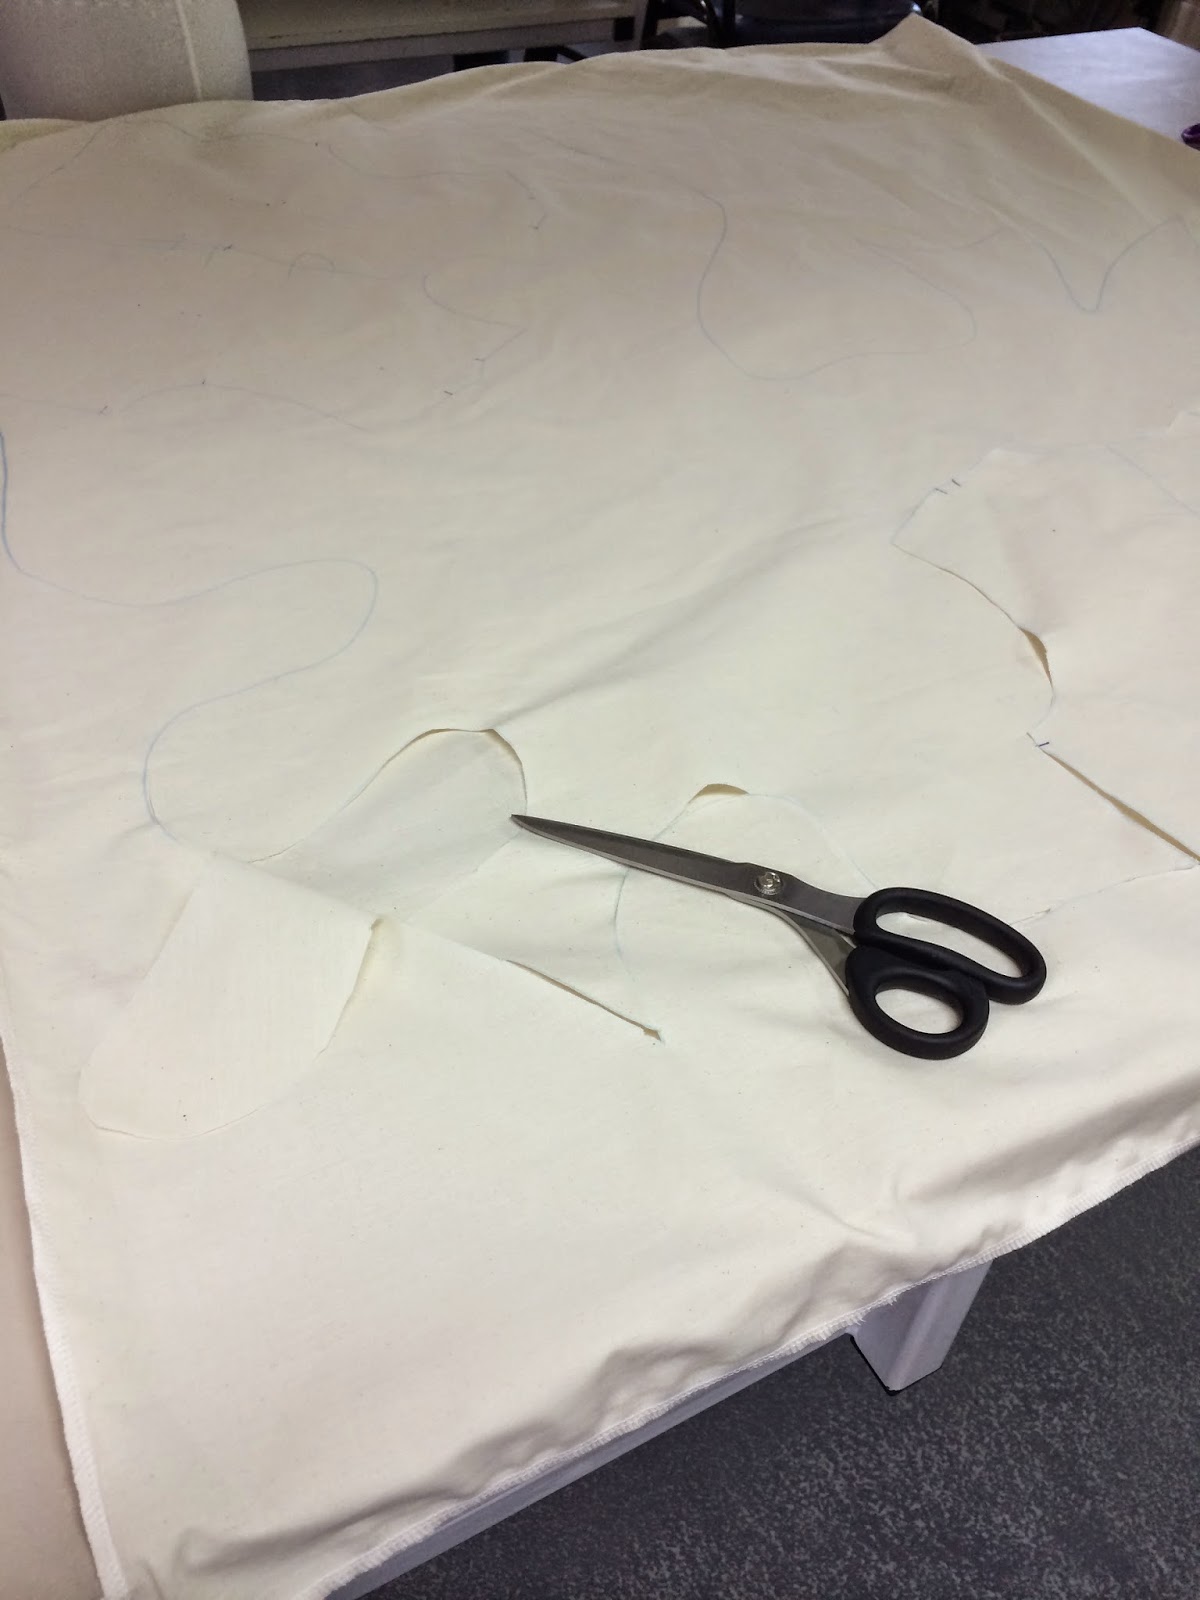
Cutting out the dress.

All of the fabric removed.

Me holding the shoulder seams together, before anything was sewn. 


The back view of my complete dress. 

The front view of my completed dress.

Close up of the hand sewn gather. 

Close up of the invisible zip.


Julian Roberts Toile for MOTHS

For my final garment for the Modelling on the Stand project (MOTHS) I made a toile. Below are a series of photos that show some of the stages of this process.

I used the Julian Roberts pattern cutting technique to construct my garment. I experimented with two fabrics of different weights that were slightly different colours so that I could see how it might work in my final garment. The photos that I have taken during the process will help me to recreate the bottom half of the garment when I come to make the final dress as this section has no set paper pattern. 


Sunday, 31 May 2015

CAD boards

Here are two of the mood boards that I have made during my CAD lessons. They are both inspiration for the Live Whitchurch silk mill project.


Live Project Knit Samples

I created a range of knitwear samples as part of the Live project. Below are photos that show some of those samples. I have changed the make up of my yarns from those that I originally started off with, as now they contain a higher silk content. I really like the way these knit samples look and I'm pleased that they have turned out this way. I hope that they will go well with the embroidery panels I plan on using.

Sam


Monday, 4 May 2015

Blue Project Presentation

For my Blue project I was required to complete a mood board, an illustration, technical drawings and fashion flats, a technical file and six final samples. 

My inspiration was waves which I discussed in an earlier blog post. I think that my results tied in very closely to my theme and I replicated it well with my final knit samples. I hand-dyed all of the yarns that I used in these samples and this was an achievement for me as it's not something that I would normally do. Working with a small colour palette was also a challenge but it was interesting as it allowed me to focus more closely on depth and tone. I really enjoyed working on this project and was pleased with my final results. The photos below are of the presentation of the project in my base space.

Sam


MOTHS Workshop 4 - Julian Roberts

The fourth MOTHS workshop was the last of the sessions for this project. This workshop was given by a third year student who had particularly enjoyed this part of the project last year. The workshop covered a technique called Subtraction Cutting which was found by pattern cutter Julian Roberts. Initially I found the concept quite hard to get my head around but I was reassured that it would click eventually.

The process was: We had two metres of fabric cut in half which we sewed together to make a bag. We laid the bag flat on the table and drew out two bodice blocks at random points on the fabric, marking the darts too. We then drew a line connecting the bodice blocks together. Next we had to cut in to the top layer of the bag to cut out the shape of the lines that we had marked on, cutting around the bodice blocks too. After this was cut we sewed the darts into the bodice and then the shoulder seams together. It was at this point that I began to understand how this technique works. I pulled the dress up and could see how it was going to take shape. The next part was sewing the rest together however you liked to make the final dress. This is the technique that I have decided to use to make my final dress for this project.


All of our dresses that came out of the workshop. (mine's the one in the middle)