Monday, 4 May 2015

MOTHS Workshop 4 - Julian Roberts

The fourth MOTHS workshop was the last of the sessions for this project. This workshop was given by a third year student who had particularly enjoyed this part of the project last year. The workshop covered a technique called Subtraction Cutting which was found by pattern cutter Julian Roberts. Initially I found the concept quite hard to get my head around but I was reassured that it would click eventually.

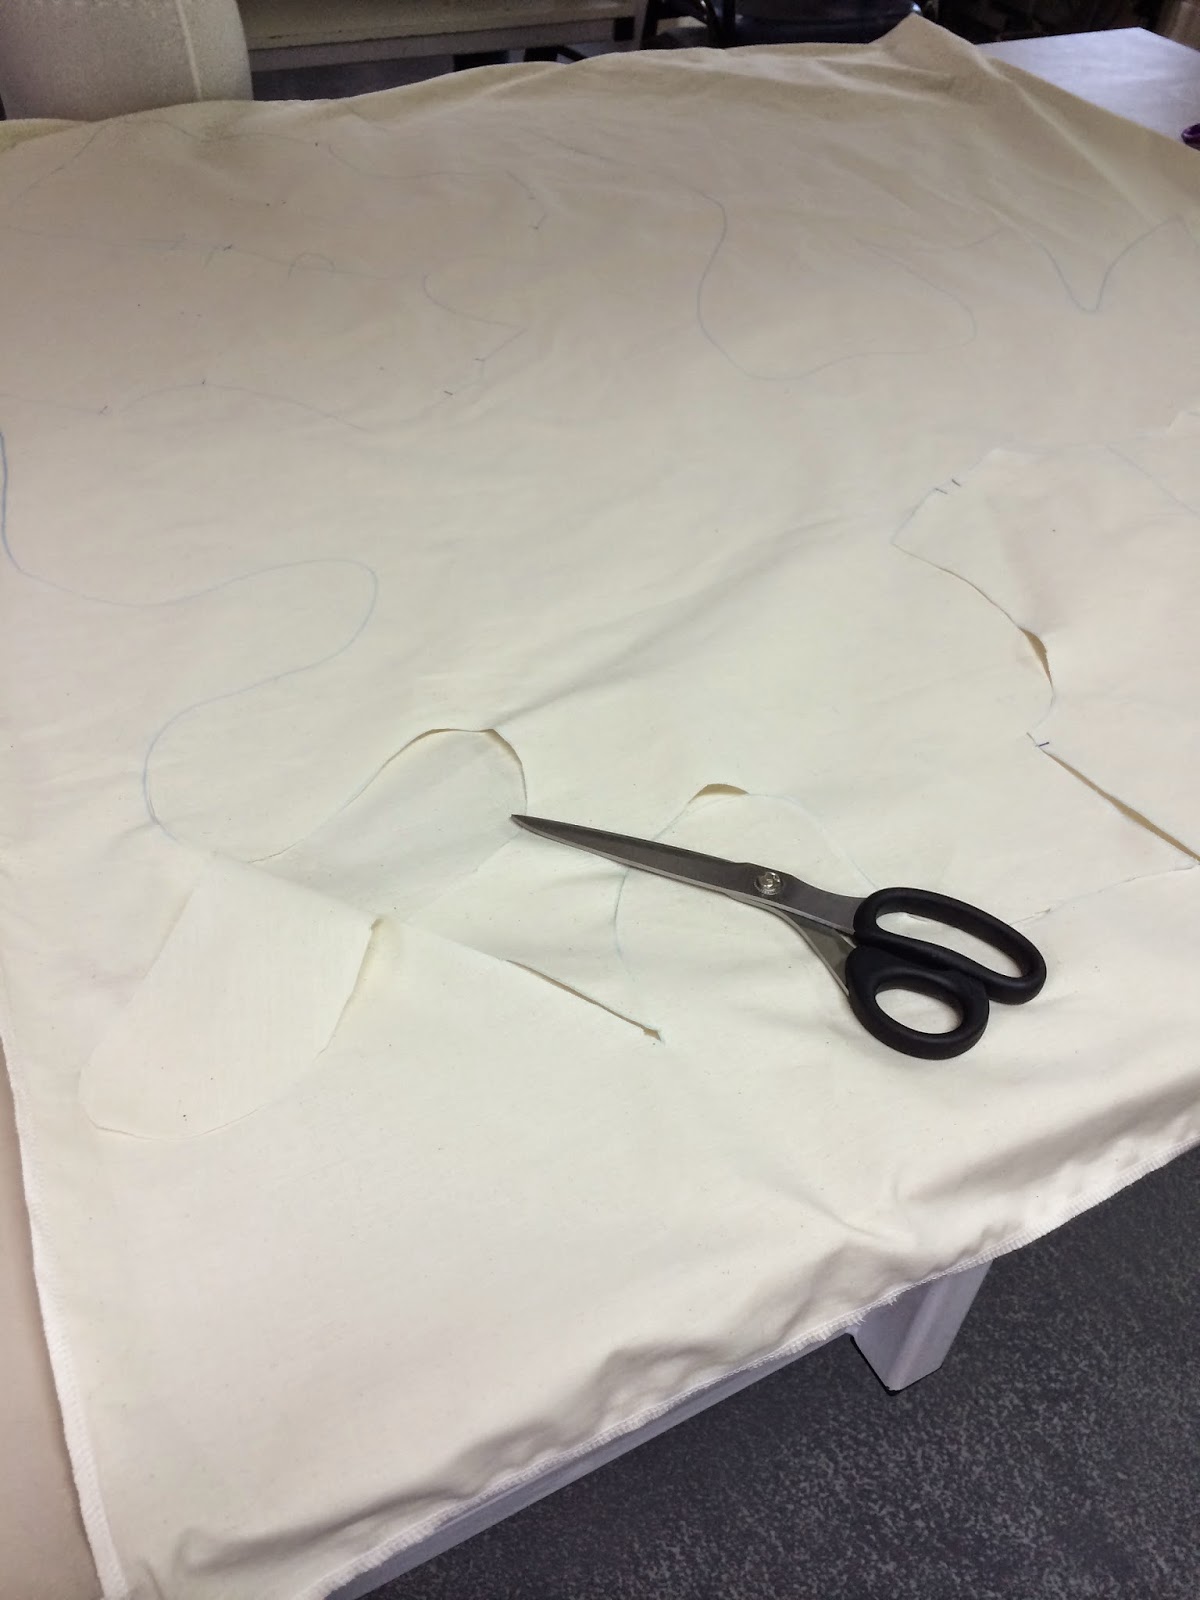
The process was: We had two metres of fabric cut in half which we sewed together to make a bag. We laid the bag flat on the table and drew out two bodice blocks at random points on the fabric, marking the darts too. We then drew a line connecting the bodice blocks together. Next we had to cut in to the top layer of the bag to cut out the shape of the lines that we had marked on, cutting around the bodice blocks too. After this was cut we sewed the darts into the bodice and then the shoulder seams together. It was at this point that I began to understand how this technique works. I pulled the dress up and could see how it was going to take shape. The next part was sewing the rest together however you liked to make the final dress. This is the technique that I have decided to use to make my final dress for this project.



All of our dresses that came out of the workshop. (mine's the one in the middle)

MOTHS Workshop 3


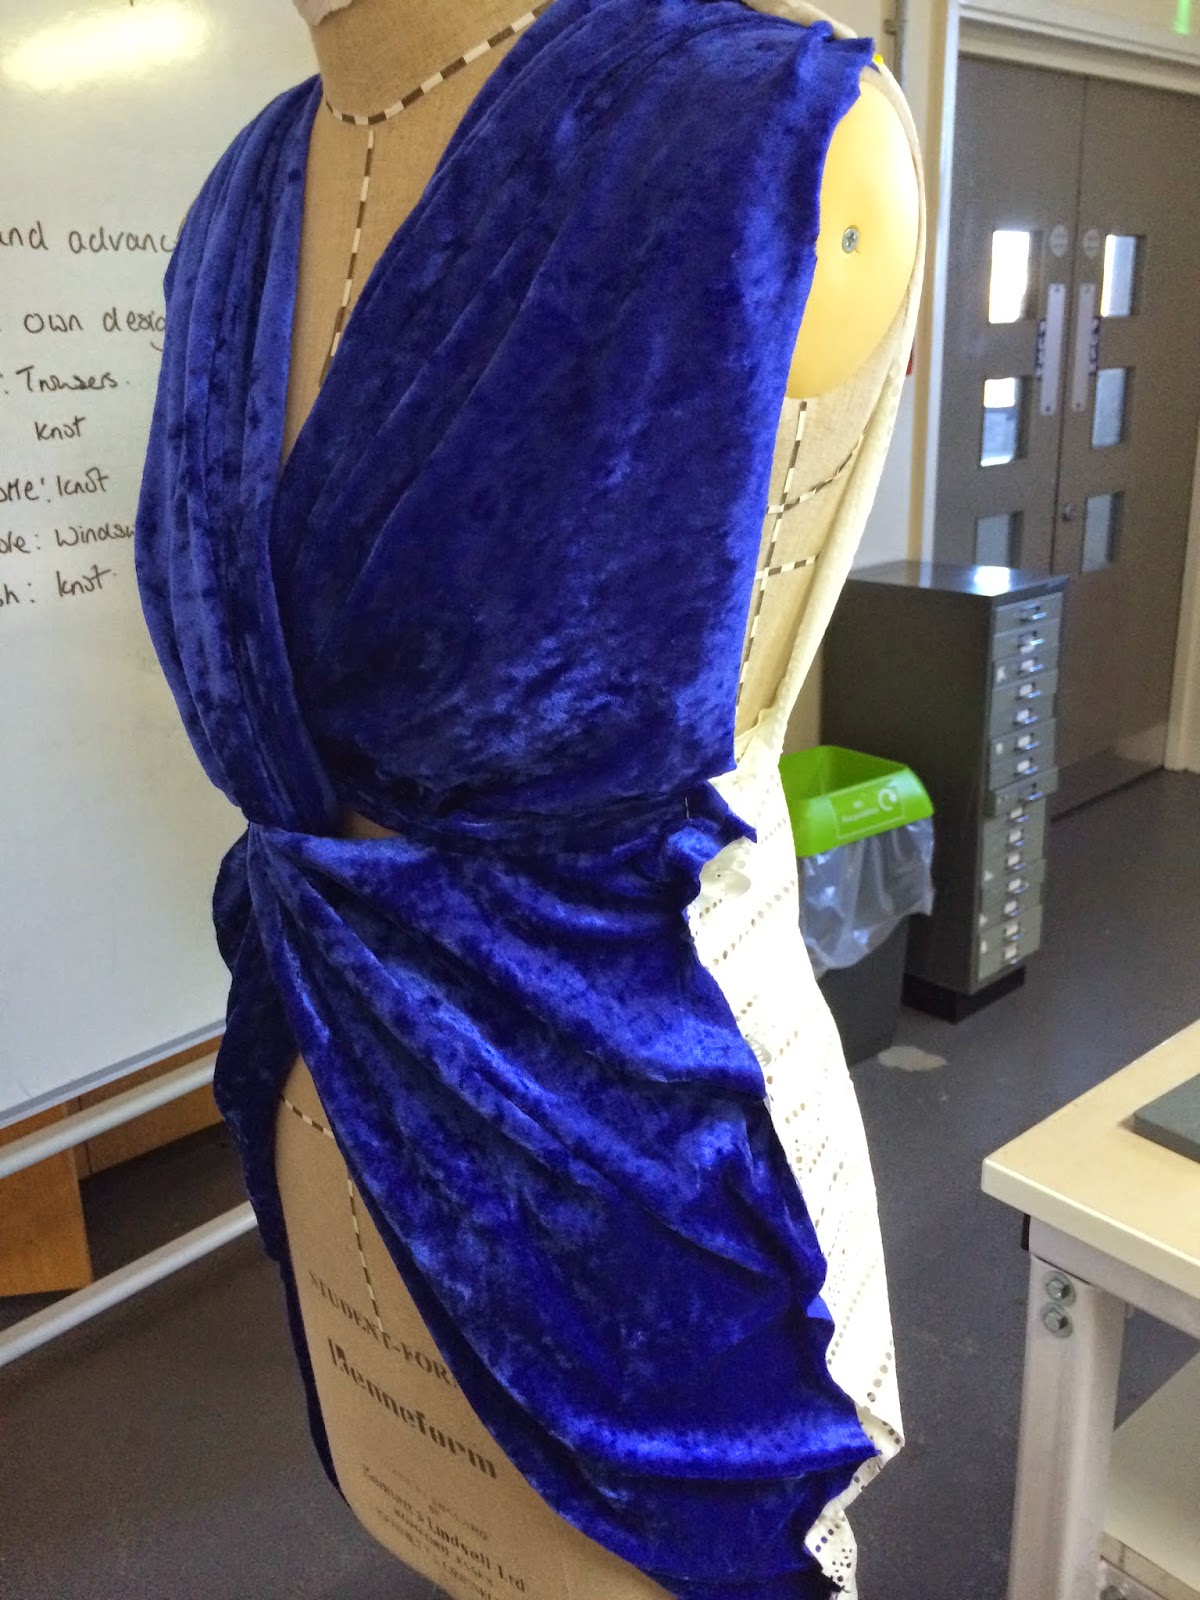
During the third MOTHS workshop we worked from a selection of handouts and chose a technique that we wanted to try. I chose to try the knot technique. This was easier than I initially thought that it might be so I decided to test the technique in three different types of fabric to see what the results would be. Below are some photos of the results.

Sam


Thursday, 30 April 2015

MOTHS Workshop 2


For the second MOTHS workshop we learnt how to formally model on the stand. Firstly we had to mark out the essential lines using designer tape as shown below.


The next step was to get a piece of calico and pin it to the mannequin along all of the essential lines. We then pinned where the darts would be positioned. We did this for both the front and back. After all of the darts were pinned and the calico fitted the model perfectly, we then used tailor's chalk and marked along all of the essential lines and darts. After doing this it was then ready to be unpinned. When laid out flat onto pattern paper all of the markings can be traced off to make the pattern for the fitted bodice shape which can then used to make a perfectly fitted garment.


Venice Project Overview

Back in October 2014 our group visited Venice to gather inspiration for our first project of the second year. Below are photos of the knitting and construction of my final outfit of the Venice project which was made up of a crop top and culottes. This was the first knitted outfit I have ever attempted to make. 

The sleeves for my top took a very long time to knit as the lace carriage wouldn't work with my yarn. Instead of using the lace carriage I transferred each stitch by hand to create all of the lace holes. The crop-top was relatively straight-forward to knit although it was also the first time that I had knitted a hem.

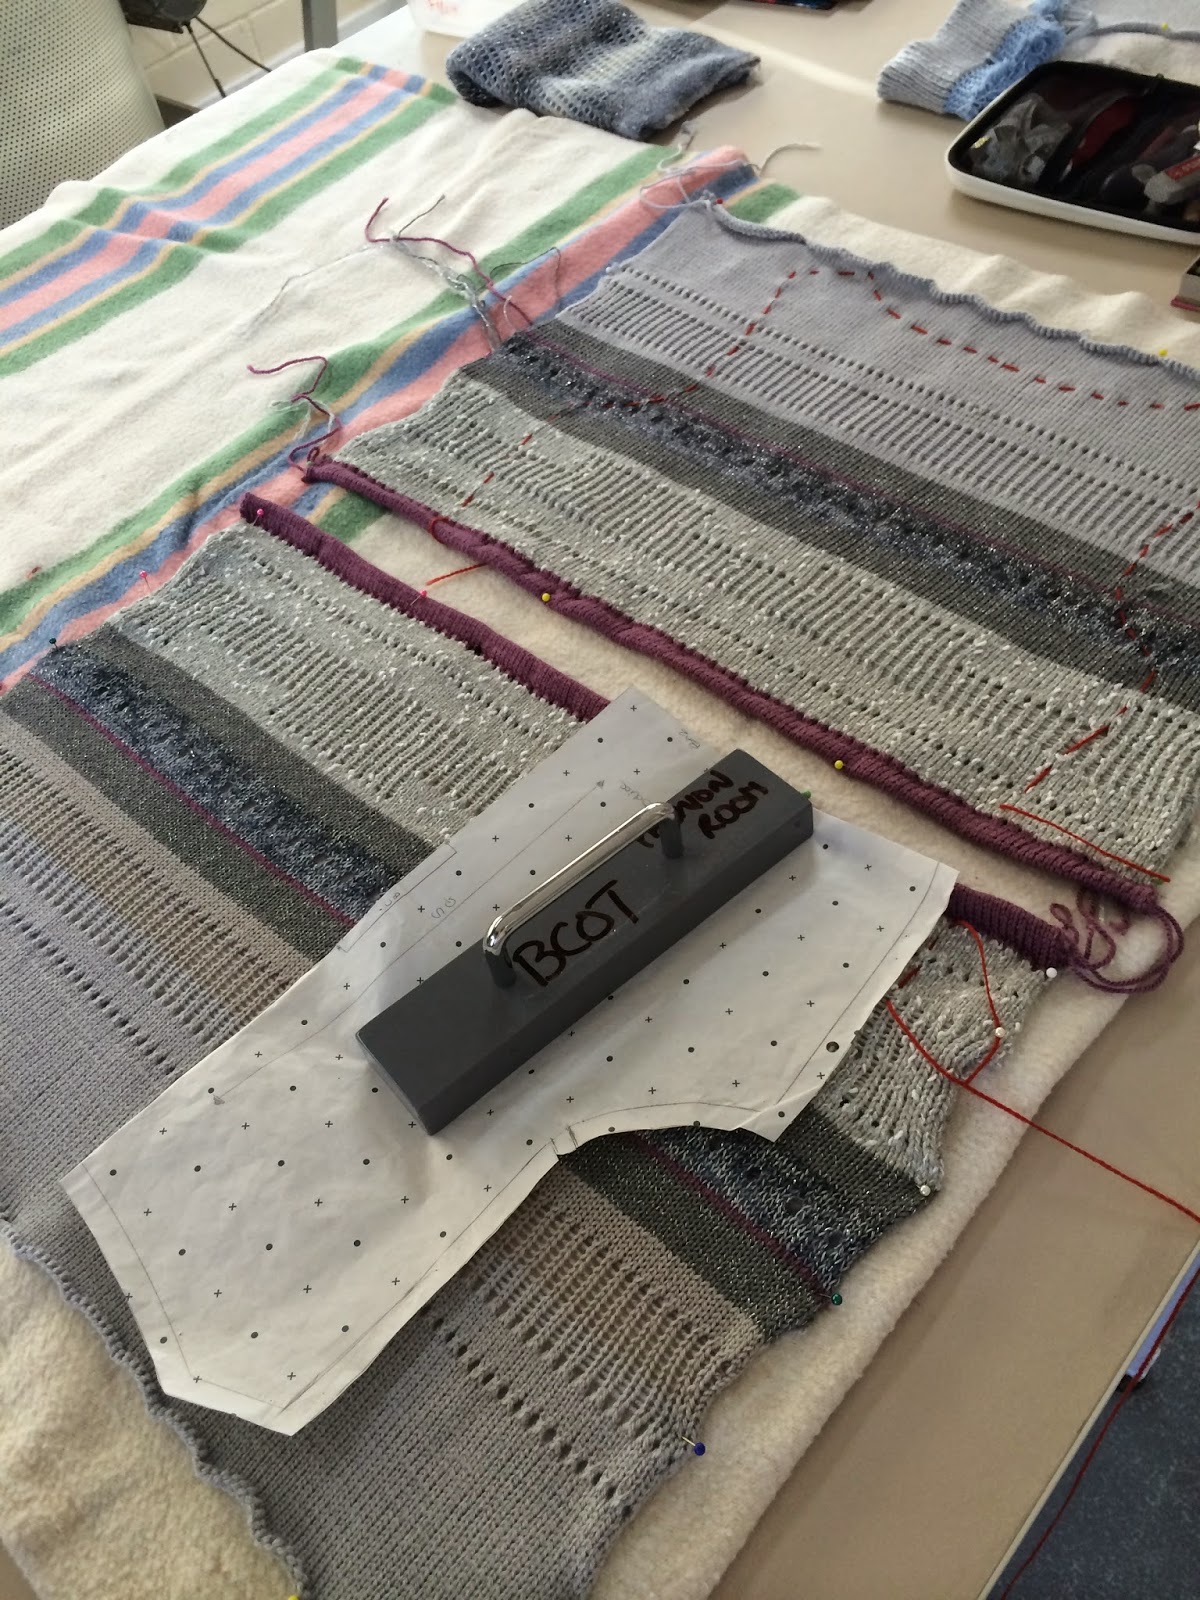
The culottes consisted of four identical knitted lengths of fabric which featured a complicated pattern made of five different yarns, each with their own colour and texture.

Considering this was the first knitted outfit I've made, I was extremely pleased with the final result.

The knit for the sleeves still on the knitting machine

A close up of the sleeve knit

Hooking up the hem of the crop top

Knitting on the machine for the culottes

The final four pieces of knit for the culottes

Laying my pattern onto the fabric of the crop top

Pinning the fabric of the culottes ready to be steamed

Another piece of fabric pinned ready to be steamed

Marking out pattern pieces ready to cut

Pattern pieces marked out to be cut

Sleeve material marked out ready to be cut

The waistband of the culottes on the linking machine

The final garment with all of the supporting work

Samples and toiles

Monday, 16 March 2015

Blue Inspiration


My inspiration for this project is waves and breaking water. Initially I dyed my yarns and I thought that the tones of blue I had created reminded me very much of the sea. I will be including shades of white, cream and silver into my colour palette which works perfectly with the waves idea. From looking at the structure and patterns of different waves I have realised that they are all different and completely at random. I shall therefore try to avoid repeating myself with techniques and colour blocks when doing my samples so that they relate better to my inspiration. I am looking forward to trying out different techniques to try and create the different wave themed samples I am hoping to achieve. 


Sunday, 15 March 2015

Blue Project


Dying Final Yarns

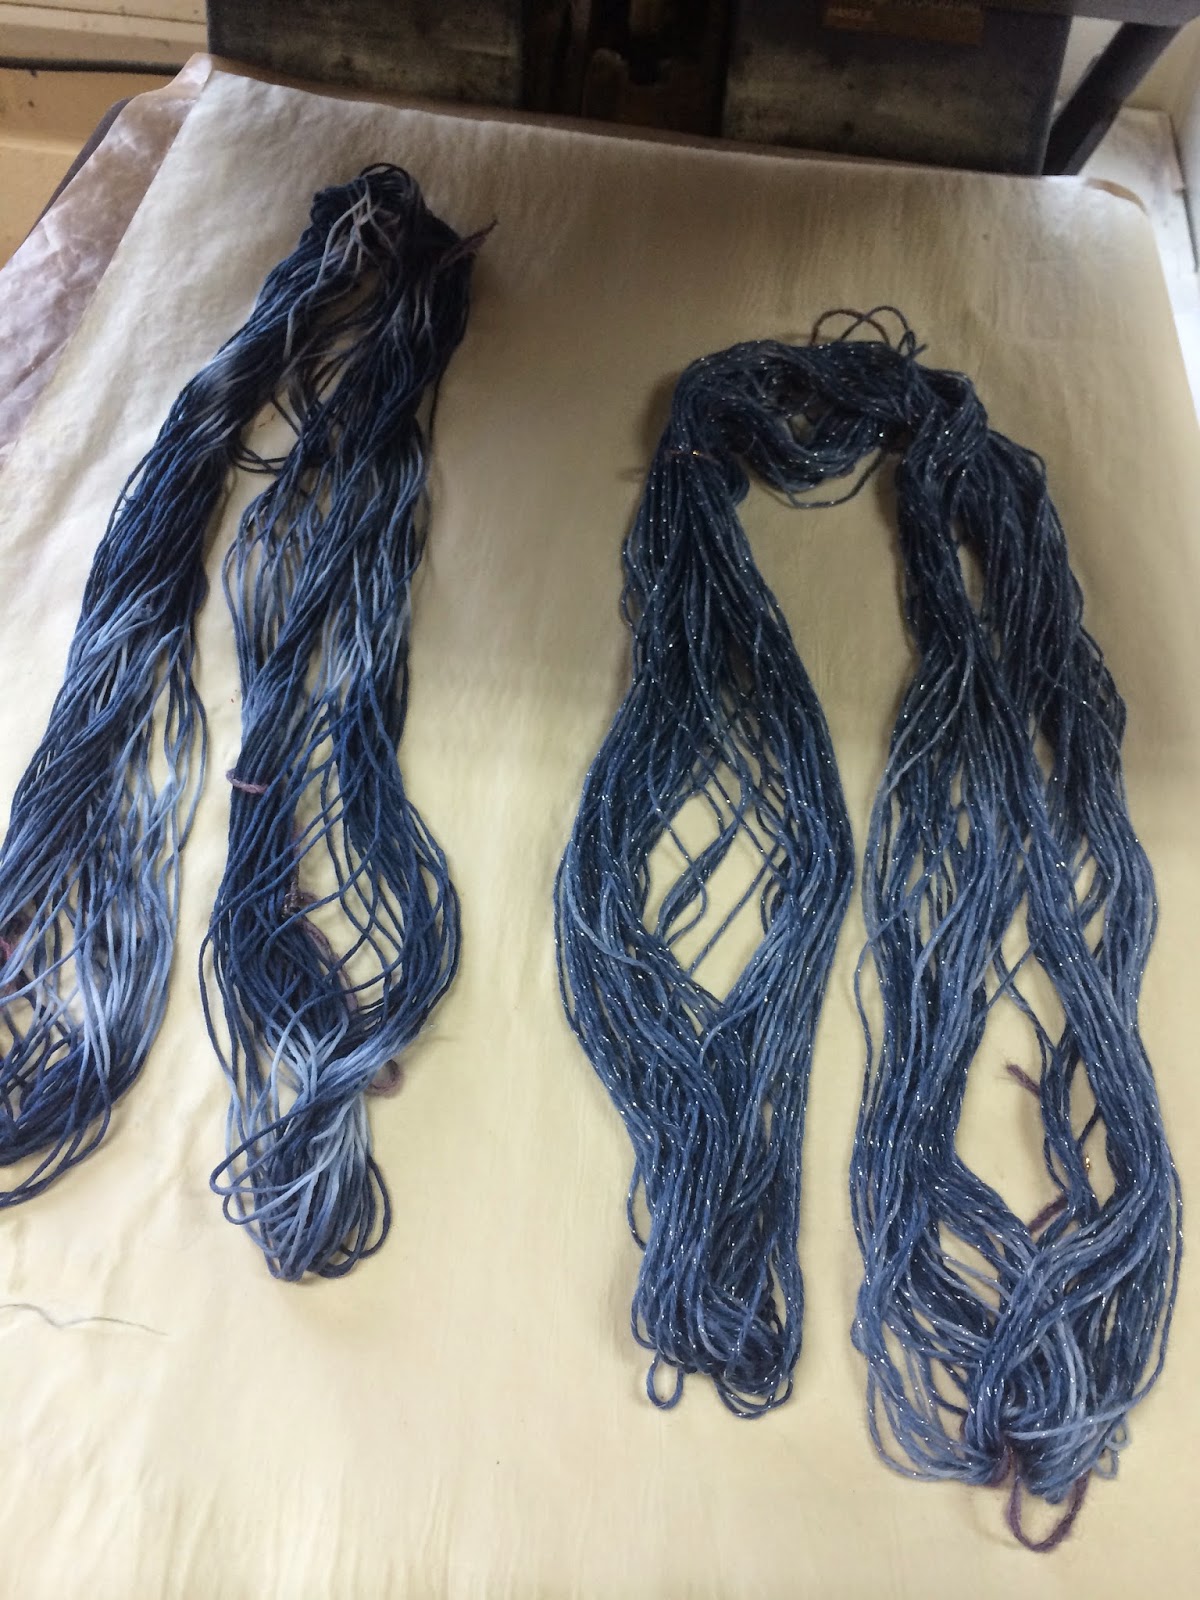
I have been dying my final yarns that I will use for the 6 samples I need to produce as part of my Blue project. I have chosen to use the two processes of Indigo dying and Acid dying. I enjoyed using Indigo dying as I found that I could get some really nice results in quite a short amount of time. Using the Acid dying technique I managed to achieve some really lovely colours that I was pleased with.

My inspiration for this project has been waves and I think I will be able to replicate this theme well through my samples, as the colours that I have produced lend themselves really well to the colours associated with water and breaking waves. I will also be mixing silver, white and cream in with my blue yarns to enhance the effect further.